Remove old grout
Removing old grout is a necessary step when restoring a damaged tile or freshening up the look of your bathroom. Here are some simple methods to help you remove hard grout from tiles.
First ask yourself why are you wanting to remove the grout in the first place?
If it’s cracked or damaged, falling out or has some serious mould then replacement is probably your best option. If you don’t like the colour there are options to recolour your grout without replacement which will save time and money. A professional clean may also remove the need for replacement if it’s just uneven colouring that’s the problem.
Now that you’ve decided on a replacement…
The best way to remove grout is mechanically, depending on your skill level either a grinder or renovator tool is the quickest way to removed sanded grout from floors. Most grout on the floor is different to the grout used In the walls, but this isn’t always the case. Some grout can be removed using a Stanley knife or similar and gouging away the grout.
Using a grinder is dangerous if you don’t have the experience, a renovator tool will take longer but is a good option for the less experienced DIY enthusiast. A renovator tool with a silicon carbide tip will make short work of the old grout. Be careful how deep you grind out as damage to the waterproofing can be expensive to repair, and may require retiling the whole area. Work as close to the edges as you can with your tool of choice, then using a Stanley knife or similar, chip away the small remains in corners etc.
Make sure you have a vacuum attached to your tool of choice or nearby to reduce dust, grout dust is likely to contain silica, a facemask is a MUST. As is grinding wet, just be careful of using power tools around water.
Once you have all the grout out, a good clean of the tile edges is recommended.
Got Mould?
If mould was present in the previous grout use a mould killer to reduce the ability of the mould to return. Depending on the tile drying times may vary, you will want to make certain the tiles are completely dry before regrouting.
Once you have regrouted the area with your grout of choice be sure to remove all excess from the tile, as removing dried grout from textured tiles is difficult and time-consuming. Removing dried grout from tiles can be done with a heavy-duty scourer and some elbow grease, just be sure not to scratch your tiles. Big clumps can be chipped off, and smeared grout may be able to be cleaned off using an acid cleaner and scrubbing the surface with an abrasive pad. Also, ensure you do a test patch to test your method is working before committing to the whole area.
It’s hard work, but totally satisfying!
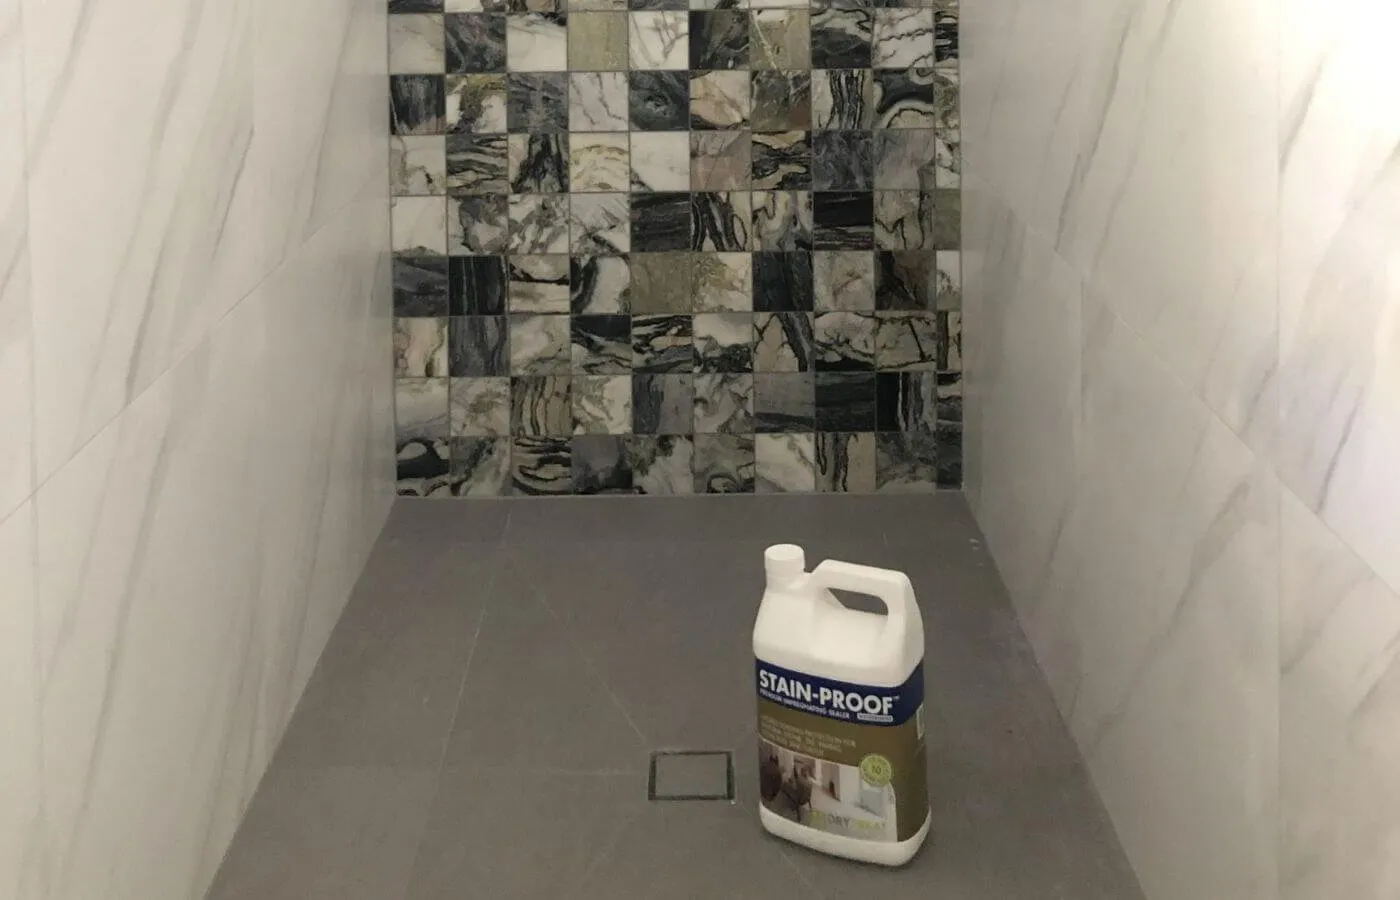
Regrouting is very satisfying when completed, it’s labour intensive but can make a huge difference to the look of your tiled areas. Once your area is regrouted consider getting the new grout sealed, there are many store-bought sealants that may fit your needs. Or contact a professional like 1st Choice Fix, who offer a professional sealant application at a reasonable price to give your grout protection against water and staining into the future.